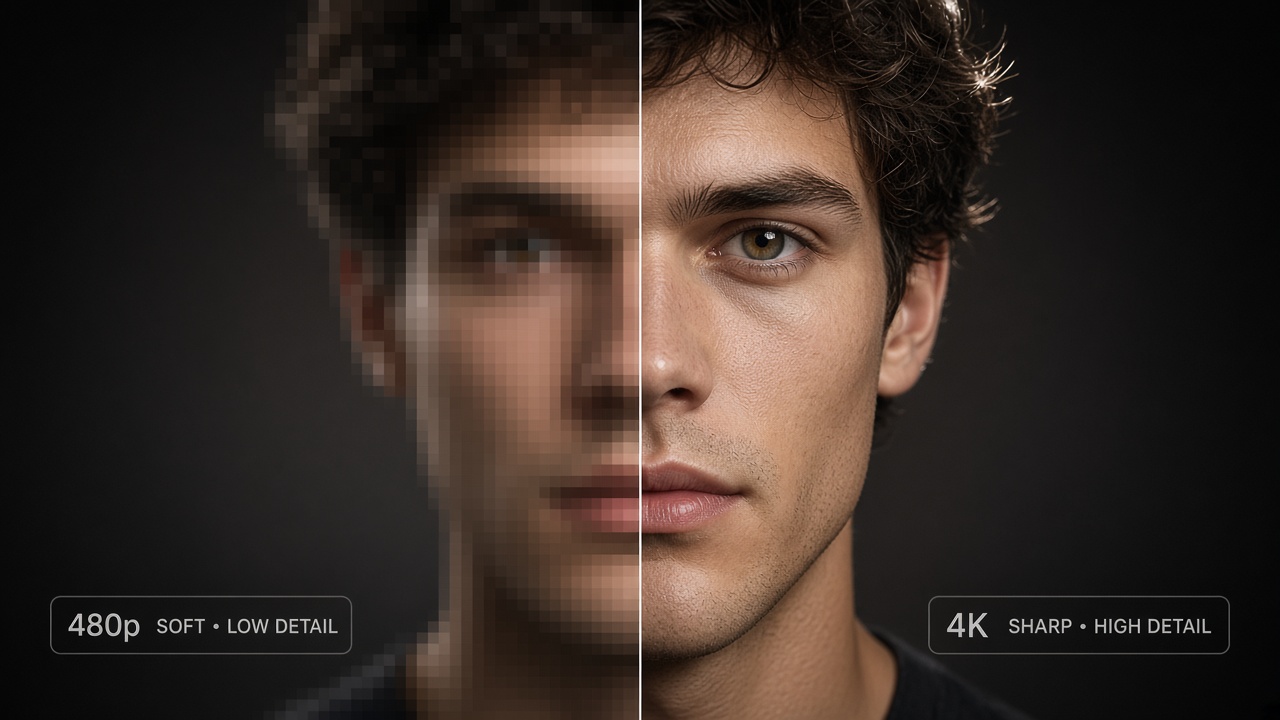
You already have a draft clip. Now you want it sharper for export—not a brand-new scene. On veo-3.app, an AI video upscaler lives inside the same AI video generator workflow: select or upload the take you like, set a target scale or resolution, read the credit estimate, then preview before you burn the full pass. This is not a standalone upscale site and there is no separate /upscale URL—Video Upscale is a capability on the generator page. Use this guide when the motion and framing are already right and only clarity needs a lift. Searchers typing AI video upscaler often expect a separate tool; here the finish pass stays on the same generator page as Text to Video and Image to Video, so you keep one credit balance, one creations list, and one estimate habit from draft to export.
When to Upscale After Generate
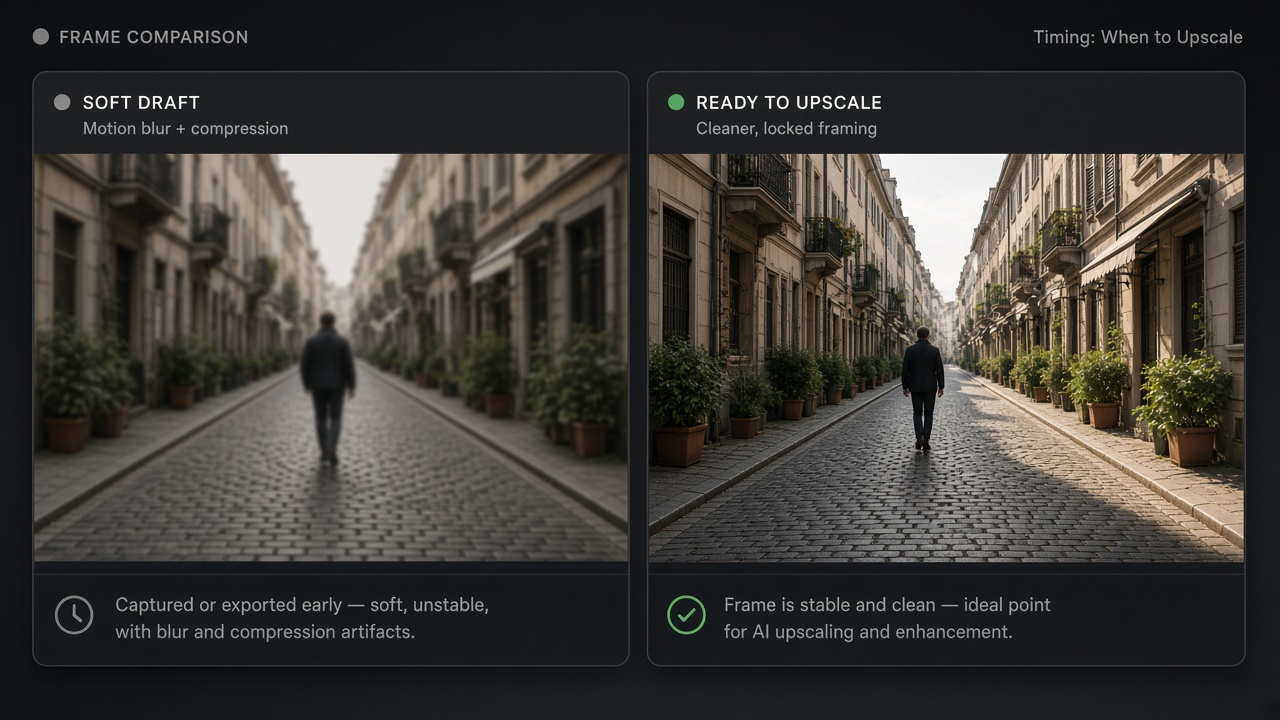
Upscale after generate when the story beat is locked and you are polishing for delivery. If the subject drifts, the cut feels wrong, or the prompt still needs another draft, stay in Text to Video or Image to Video first. Sharpening a weak take only makes a soft idea look expensive.
Source checks before you spend credits
Run a quick pass on the clip you plan to upscale:
- Subject and framing — The hero stays readable; no accidental crop of the face or product.
- Motion — Camera and subject motion are intentional, not jitter you hope “resolution” will hide.
- Compression and blur — Mild generation softness is normal; heavy blockiness or motion smear may need a cleaner regenerate, not only an upscale.
- Length — Prefer the shortest usable cut. Longer clips cost more credits at the same scale.
If two of those fail, regenerate on a cheaper model tier first, then upscale the winner. Upscale is a finishing step, not a repair shop for broken prompts.
Pick a target resolution (not “max by default”)
Decide the delivery target before you open Video Upscale:
- Social feed or draft review — often a modest step up is enough.
- Hero site banner or client delivery — match the pixel box the page or brief actually needs.
- Vertical vs horizontal — keep the aspect you already locked in generation; upscaling does not fix the wrong frame shape.
Change one variable at a time: lock the source clip, then choose scale/target. Jumping straight to the highest option on every first pass empties credits without teaching you what “good enough” looks like for this project.
Step-by-Step Upscale Pass
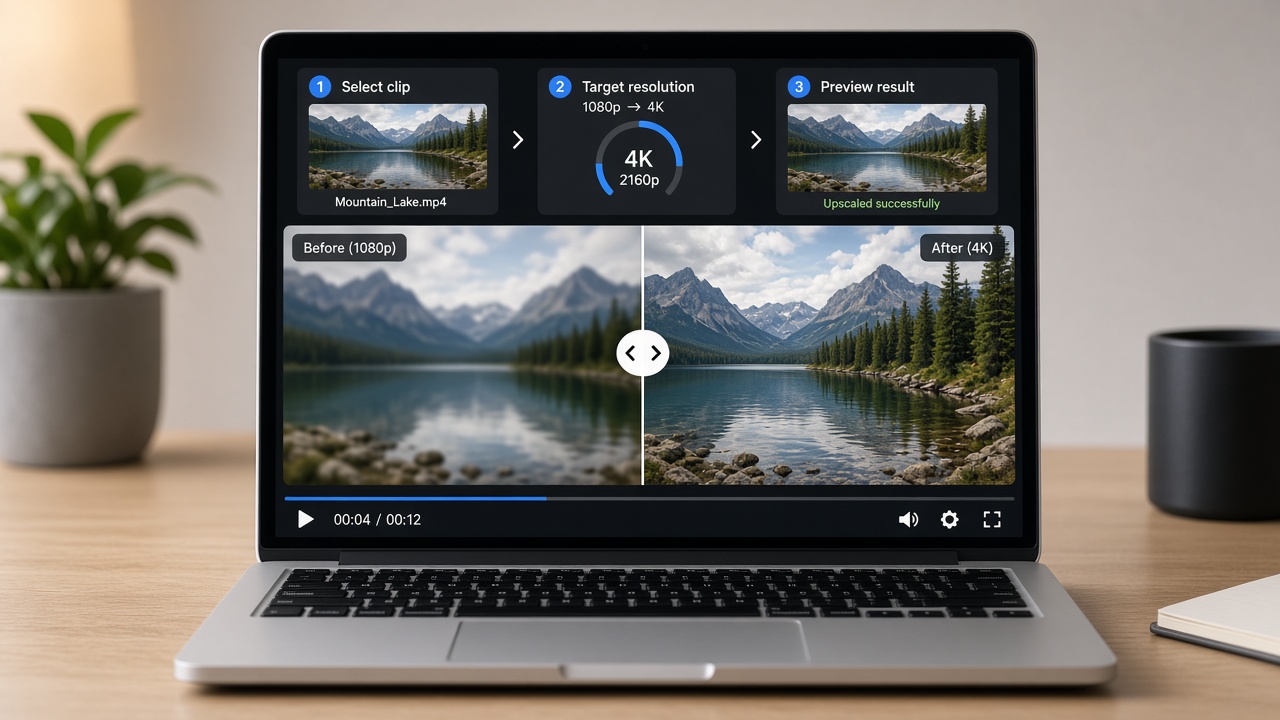
Stay on veo-3.app. Open the AI video generator and use the Video Upscale path there—same product surface as generate, not a third-party upload farm. The loop mirrors what mature upscale guides teach at a high level (upload or select → target resolution → credits → preview), adapted to this site’s generator UI. Follow the four steps in order; skip ahead only if you already know the source and target.
1. Select or upload the clip
- Prefer the take you already generated on this site when it is available in your creations.
- Or upload a short export you control, if the UI allows file input for upscale.
- Confirm you are looking at the final framing you want to keep; crop or re-generate first if the shot is wrong.
2. Set scale or target resolution
- Choose the scale / target the UI offers for this clip.
- Match the destination (feed, landing hero, pitch deck), not a habit of always picking the top tier.
- If duration and resolution both drive cost, keep duration short while you test the look.
3. Read the credit estimate
Before you submit, read the estimated task charge the same way you would before a generate:
- Compare it to your remaining balance.
- If it is higher than you want, drop the target one step, shorten the clip, or run a short sample first (next section).
- Live numbers live in the estimate UI and on pricing—do not memorize blog screenshots.
4. Preview, then commit the full pass
- Run the job and preview the result at 100% on a frame that matters (face, logo, product edge).
- Check for over-sharpening, edge ringing, or faces that look plasticky.
- If the preview is good, keep that setting for the full export. If not, adjust one control and re-estimate—do not stack blind retries.
Next step after a clean preview: export the sharpened clip for the channel you planned, or return to generate only if story or motion still needs a new take.
Credits and Quality Habits
Upscale is metered like other generator tasks. Treat credits as a budget for controlled finishing, not unlimited polish loops.
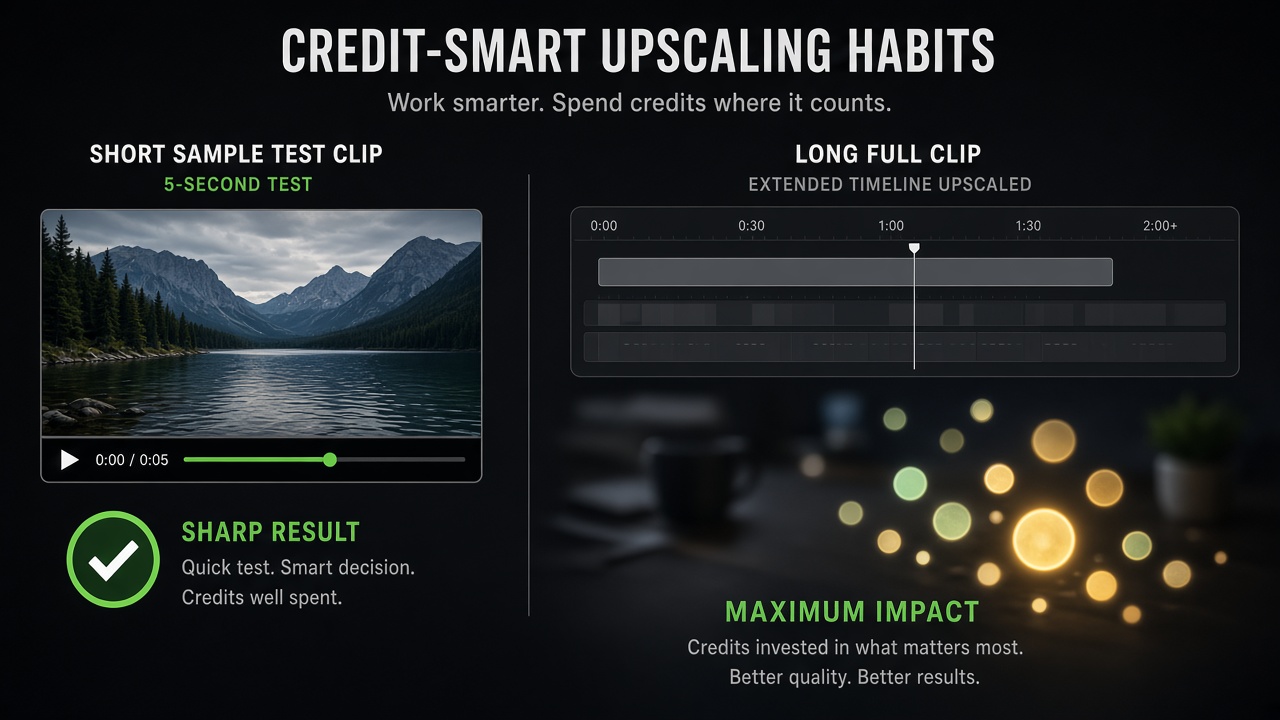
Short sample first, then full pass
A habit that survives most sessions:
- Trim or pick a short sample of the same clip (or the riskiest seconds: face close-up, fine text, product edge).
- Run Video Upscale at your candidate scale; read the estimate; preview.
- Only when the look is right, run the full-length pass at the same settings.
That sequence costs less than discovering a bad target on the entire file. It also trains your eye: you learn what this source can take before you pay for every second. If the short sample already looks over-processed, drop one scale step before you touch the full clip—do not “fix it” by stacking another full-length retry at the same setting.
Spend habits that keep quality high
- One change per retry — scale or source trim, not both at once.
- Generate cheap, upscale deliberate — lock the beat on a lower generate tier; spend upscale credits on the take you already like.
- Stop when delivery is met — if the export already hits the page’s pixel box, extra steps rarely help the viewer.
- Refill with intent — when balance is low, open pricing, compare plan allowance and packs to how many finishing passes you still need, then top up only for that plan.
When to skip upscale
Skip Video Upscale when:
- The clip is still a prompt experiment.
- Motion or framing is wrong (fix that in generate).
- The destination is a tiny preview where extra resolution will be discarded.
- The source is already at or above the delivery target.
In those cases, credits belong in a better generate—not a sharper version of the wrong shot. Keep the AI video upscaler only for clips that already earn that finish pass.
CTA: Open the AI video upscaler inside the AI video generator, pick one locked draft, set a real delivery target, read the estimate, preview a short sample, then run the full pass. Compare plan sizes on pricing when you need more finishing room—or return to the homepage Free entry if you are still shaping the first beat.